Step 1: Getting Started – Contact & Discussion
The first step is reaching out! Simply fill out the Contact Form on my website, and I’ll get in touch to discuss your project.
You can choose to communicate via:
- WhatsApp (preferred)
- Discord
- Any other messaging app that works for you (just ask!)
You're free to choose between text-based communication or calls—whichever you prefer. If you’d rather avoid calls, we can handle everything via text or email.
Step 2: Project Questionnaire – Defining Your Needs
Before moving forward, you’ll complete a Project Questionnaire to provide essential details, such as:
- Your business or project background
- Website goals and key features
- Design inspirations and branding preferences
- Any content or assets you already have
This helps ensure I fully understand your vision before drafting your Service Ticket.
Step 3: Service Ticket & Approval
Based on our discussion, I’ll create a Service Ticket, which includes:
- Project Overview – What’s included in your service
- Total Cost – A clear pricing breakdown
- Estimated Timeline – Project duration from start to completion
- Terms & Conditions – Covering revisions, deliverables, and responsibilities
- Service Agreement – Formalizing our agreement for transparency
Once you review and approve the Service Ticket, I’ll send an invoice. Payment is required upfront before work begins.
Step 4: Access to Your Project Dashboard
Once your invoice is paid, you’ll receive a link to your Project Dashboard via your preferred communication channel.
- Access all project deliverables, including:
- Wireframe Designs
- Site Plan
- Hero Design
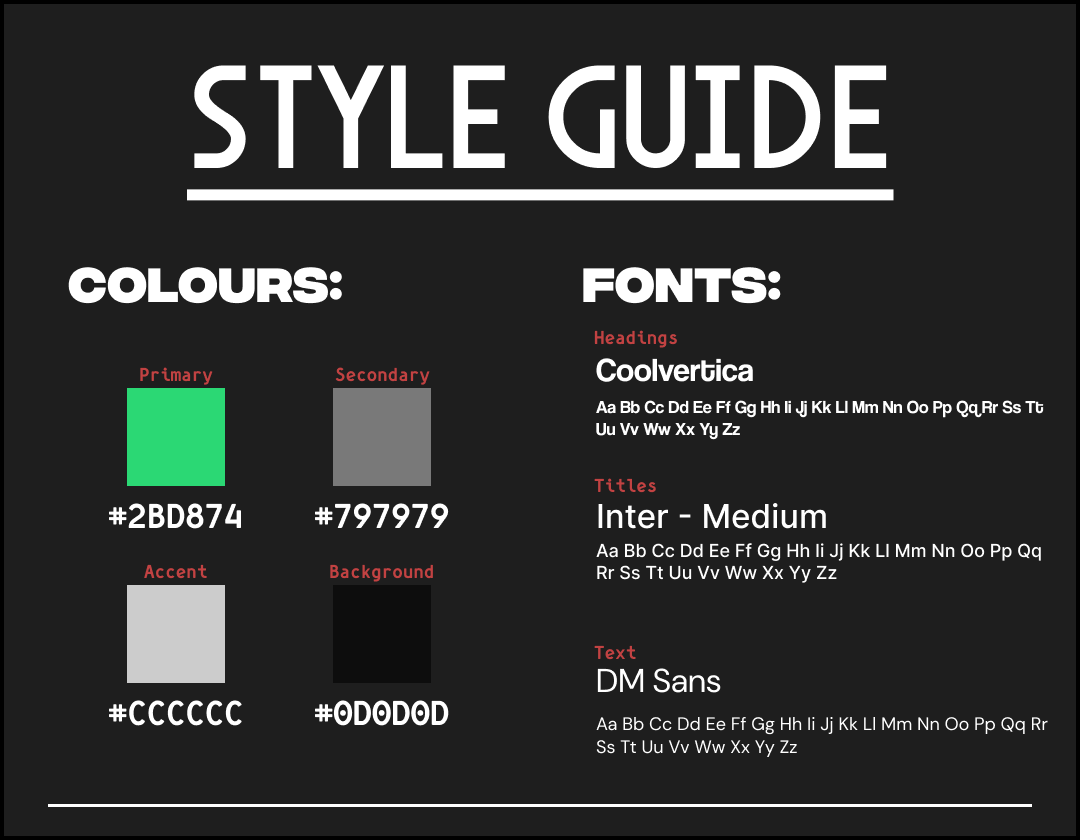
- Style Guide
- Content Guide
- Track progress with a real-time Project Checklist
- See what’s pending
- Download final files once the project is complete
The Project Dashboard ensures full transparency—you’ll always know exactly where we are in the process.
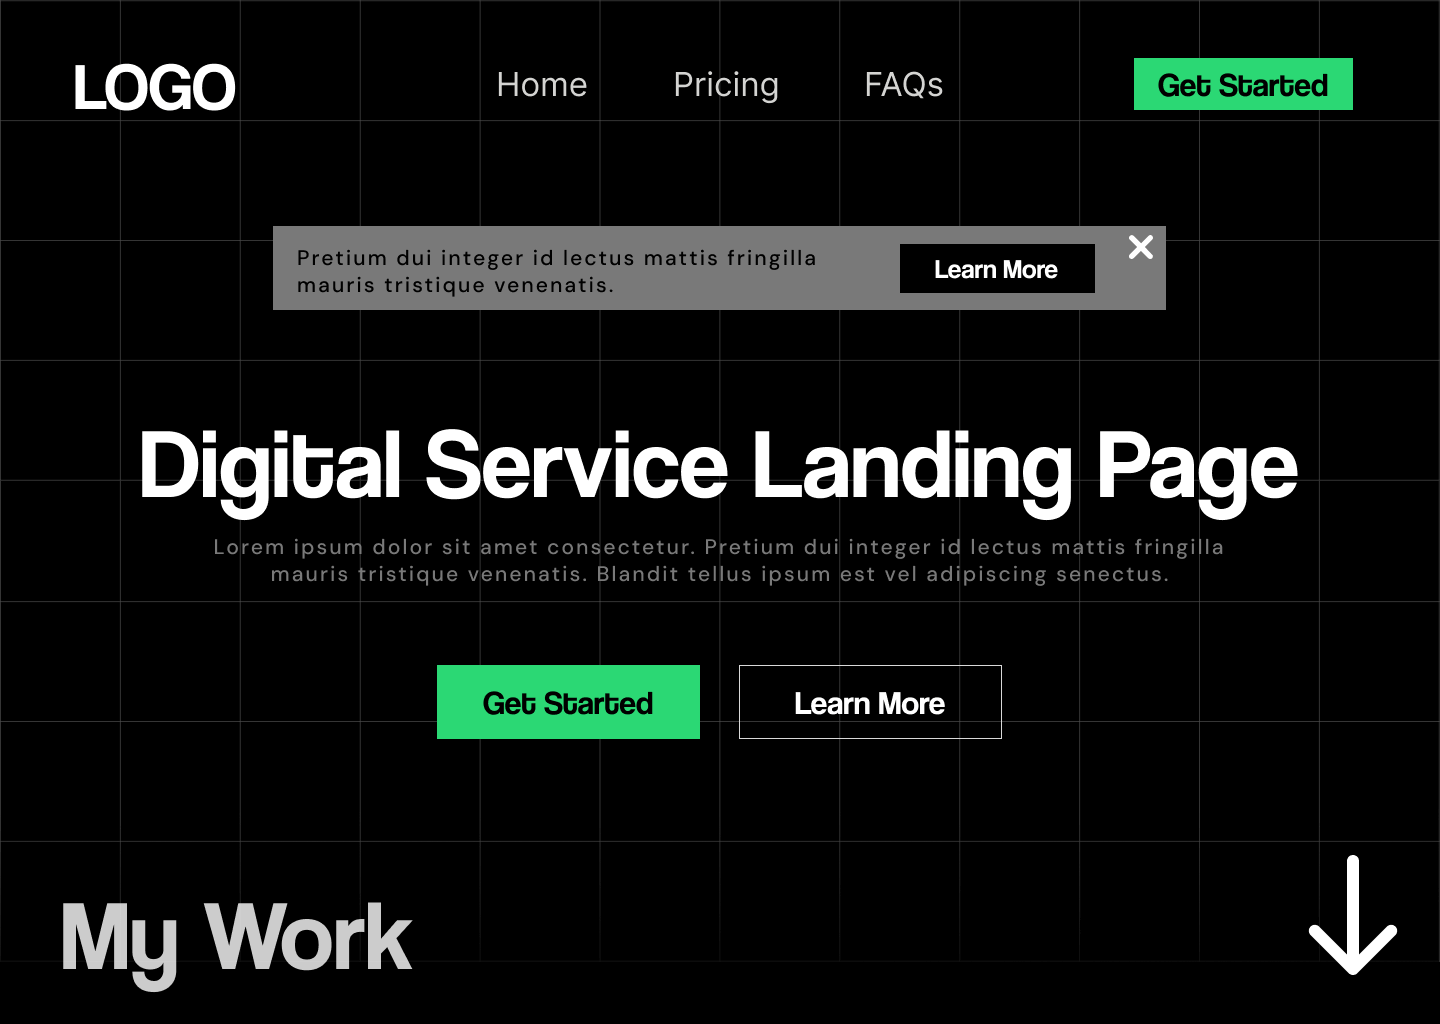
Step 5: Planning & Wireframing
With payment confirmed, I’ll design a wireframe (a basic layout of your site’s structure), outlining:
- Page sections and layout
- Design reasoning and user experience considerations
After you approve the wireframe, you’ll receive a Content Guide to help you organize your site’s text and images.
Step 6: Website Design
If you have a brand style guide, I’ll follow it to maintain consistency. If not, I’ll create a simple one, including:
- A color palette
- A font selection
If you’re unsure about design choices, feel free to share websites you like, and I’ll provide style options.
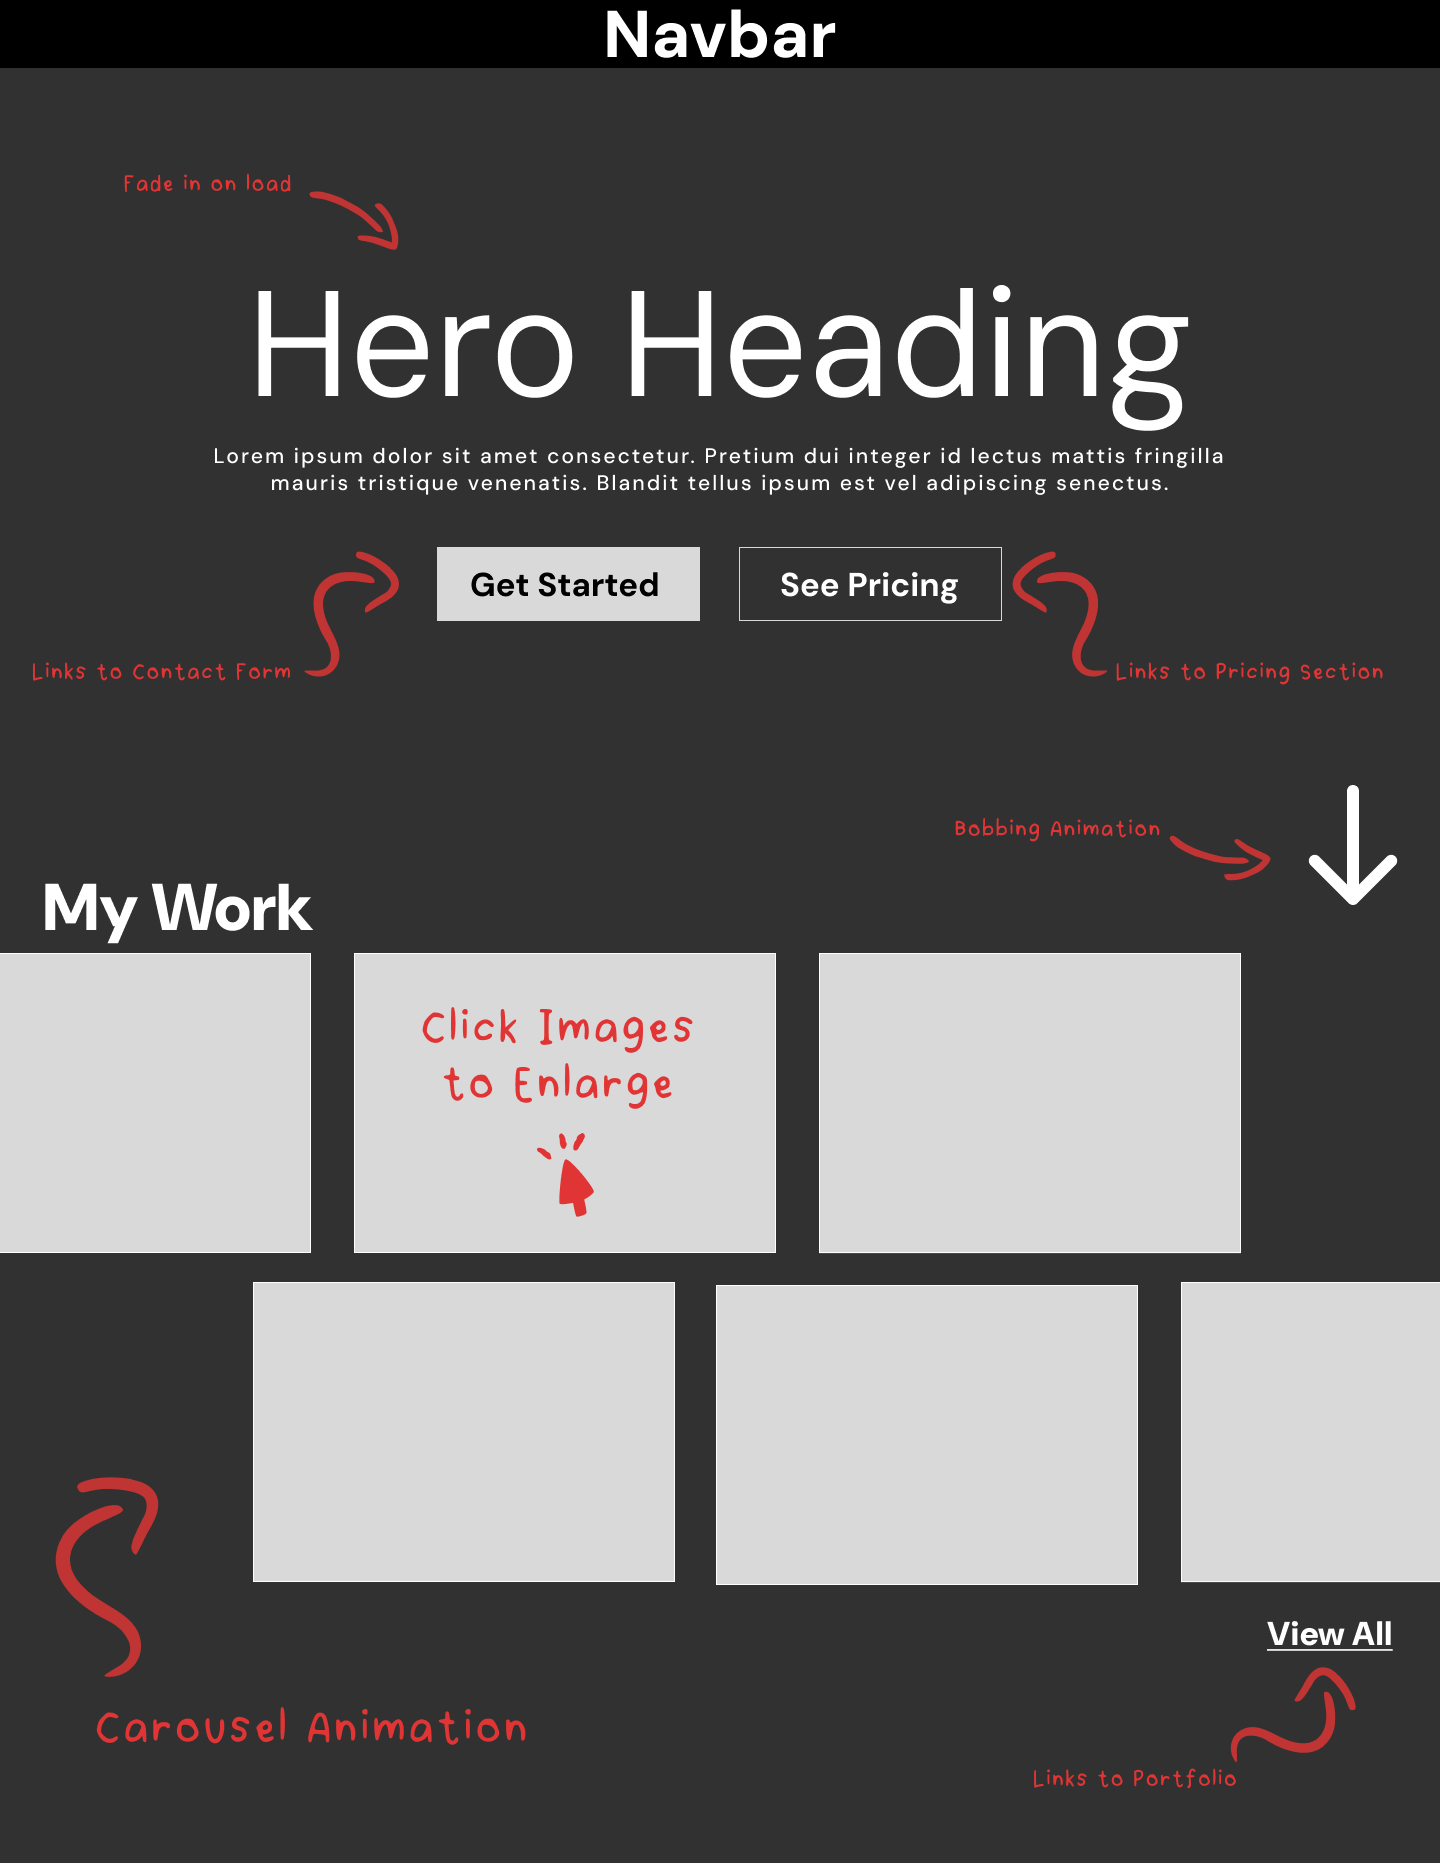
Hero Section Design
The hero section (the first thing visitors see) sets the tone for your site. I’ll design this first and send it to you for approval before proceeding..
Once you’re happy with the style guide and hero section, we move into development.
Step 7: Development & Hosting Setup
Now, the real magic happens—I’ll develop your fully functional website based on the approved design.
GitHub & Netlify Setup (During Development)
To ensure you can preview your site in real time, I’ll set up your website on GitHub and Netlify during the development stage.
You will need to create accounts with:
- GitHub (for managing site files)
- Netlify (for hosting)
Throughout this stage, I’ll:
- Keep you updated on progress
- Reach out if I need additional input
Step 8: Revisions – Perfecting Your Website
With your site already live on Netlify, you’ll be able to review it in real-time. You can explore the site, test functionality, and provide feedback for revisions.
There’s no limit on revisions at this stage—we’ll work on it until it meets your expectations.
Step 9: Making Your Website Live
Once you're happy with your site, it’s time for the final launch!
Domain Setup
If you already have a domain, I’ll either connect it for you or guide you through the process. If you don’t want to share access, I’ll provide a detailed setup guide.
Final Handover
- Your Client Dashboard will be updated with all final deliverables.
- If you provided content before launch, it will be entered; otherwise, the site will have placeholders.
- You will receive a Handover Guide with instructions on managing your website.
Alternative Setup Option
Prefer full control? I can deliver all website files along with a setup guide, allowing you to launch your site independently at your own pace.
Let’s Get Started!
This process is designed to provide a seamless experience, whether you're a business owner, freelancer, or personal project creator. If you’re ready to bring your website to life, fill out the contact form, and let’s get started!